

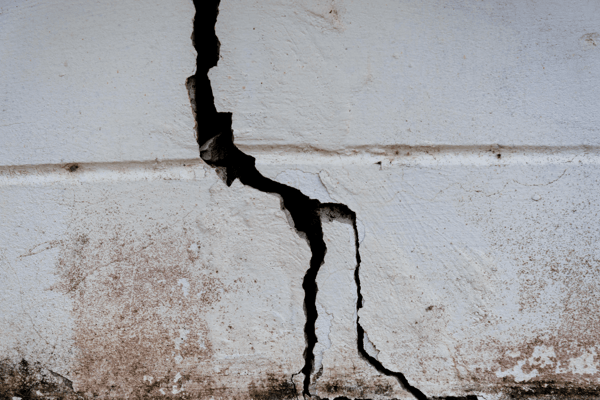
Cracks in your concrete may not look pretty, but that's far from the biggest problem. If you don't fix these cracks, they can turn into major tripping hazards, which can lead to serious injuries.
But a rushed or shoddy job won't help much.
We've put together this guide to show you how to fix cracks in concrete so the surface looks nice and stays smooth.
Let's get started!
1. Make Sure You Have the Right Repair Product to Fix the Crack
First thing's first, you need to make sure you have the right type of repair product. You can't just dump more concrete in the crack and call it good. It won't fix the issue.
Start by measuring the crack.
If it's 1/8 of an inch wide (or even narrower than that), you can use epoxy compounds or, if you prefer, latex patching materials. For anything bigger than that, you should stick with a mortar mix instead.
Don't try to use the wrong product in the wrong sized crack. Just because you have some mortar on hand doesn't mean it's the cheaper or better option. The patch job will likely end up low-quality, and you might have to spend more money later fixing it all over again.

2. Wear the Proper Safety Equipment
Before you start, slip on a pair of heavy-duty work gloves and safety goggles. You'll be dealing with concrete dust (and larger chunks), and the last thing you want is to get some of it in your eye.
Not only will this be uncomfortable, but it can lead to other complications in more serious cases. If you don't have safety goggles, buy them. It's better to spend the extra money on the right protective gear than pay for a medical bill later.
3. "Clean Up" the Crack
Using a hammer and chisel, break away any loose concrete along the edges of the crack. Do this on both sides for the entire length of the crack, no matter how long it is.
Cleaning up the sides like this will help the repair product adhere to the edges better and leave less of a seem or mark when finished.
When you're done chipping, rinse the area well with clean water to remove any dust (it will be dusty). You can even use a wire brush or similar tool to ensure every piece of debris is gone.
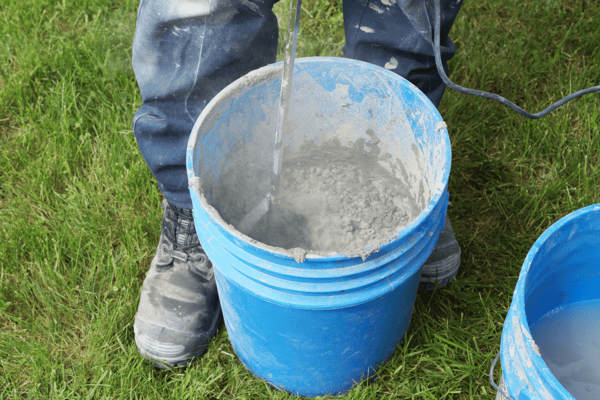
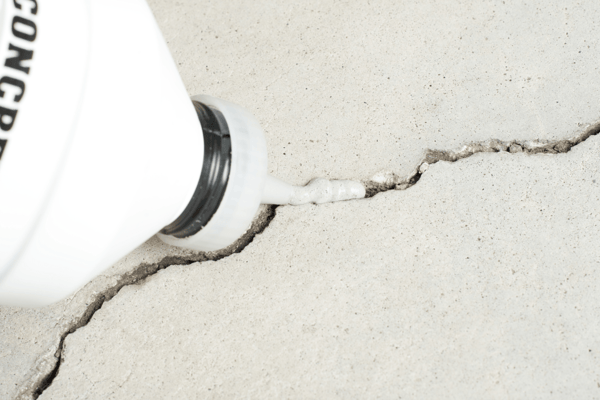
4. Fix the Gap By Filling It
Now you're ready to fix the crack with the repair product, but make sure you read the instructions first. Take your time and do this carefully so you don't miss anything. Every product has different requirements when it comes to mixing, curing time, etc.
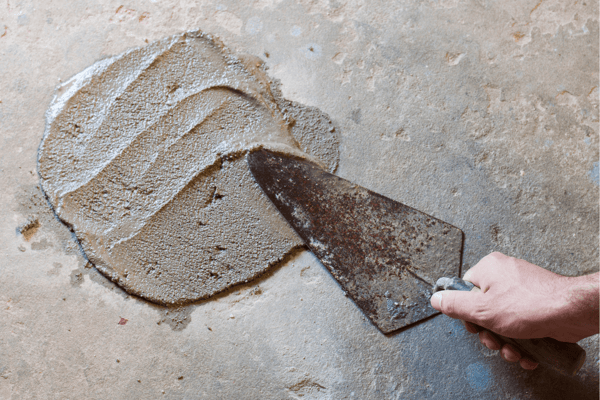
Layer a small amount of the product in the crack with a trowel (don't fill the entire space). Then use the trowel to "stab" into the product. This will remove air bubbles.
Add another layer and repeat the process until the crack is full. When you get to the top, smooth it out with your trowel.
If you want to add any texture, do it while the repair product is still wet. You can either cover it with a patching compound or use a tool, such as a paintbrush, to add the design you want.
5. Let It Cure
Let the product sit until it's completely dry. This may take several hours (or longer) depending on the product you use.
Don't try to rush through this process. Trying to move onto the next step before the product is ready can ruin all the work you just did.
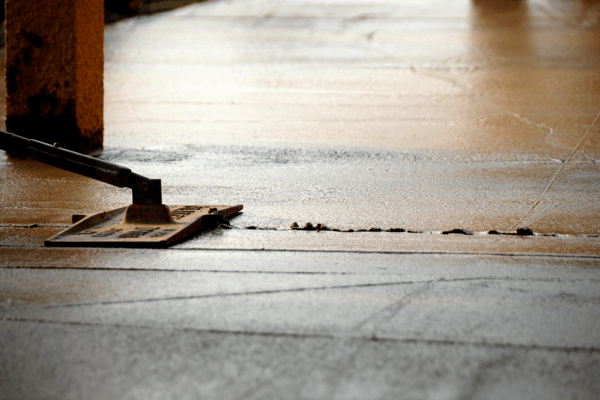
6. Polish the Concrete Flooring
If you choose, you can end the job here. Once the product cures, you can treat that section of the floor how you normally would, walking, driving, storing heavy boxes, etc. The patch will hold up and last for a long time.
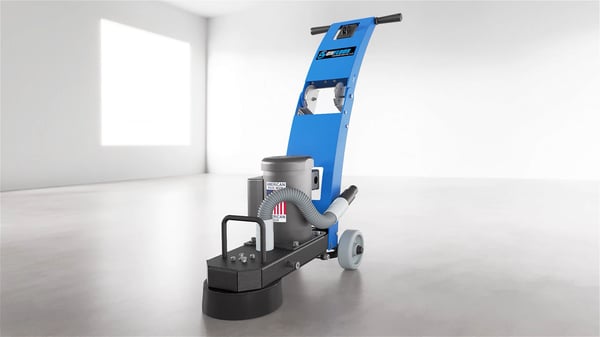
But we recommend going over the floor with a commercial concrete grinder, such as the Onfloor OF16S-L, to give the floor a more polished look and help blend the patch.
For best results attach a 40-grit metal bond diamond tool to your concrete grinder, on the planetary head. Then move the grinder back and forth in lines across the entire surface of the floor (this will also help level out any imperfections).
Don't forget the corners. These are harder to reach, so you might want to spend extra time in these spots.
Pick up the Dust
When you're done grinding, the floor will be covered in a thin layer of dust. The best, and fastest, way to clean this up is with a dust collection vacuum. If needed, go over the room a few times to ensure you don't leave any debris behind.
Repeat the Process
Switching back and forth between the grinder and the vacuum, repeat this process another two or three times to get a clear, bright floor.
But don't stick with the same metal bond diamond tool. Instead, replace it with an 80-grit tool the second time and a 120-grit tool the time after that.
Smooth It Out
After this, attach a 50-grit resin-bond diamond pad to the grinder and go over the floor again. Cleaning between each round, slowly upgrade to the highest grit resin-bond pad you have, such as 2,000 or 5,000.
This will buff the concrete and give the floor a smooth and polished appearance.
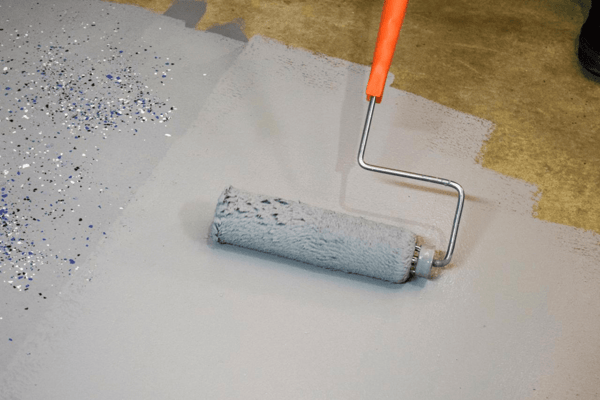
7. Seal/Paint the Concrete
Again, you can stop here if you want, but if you prefer, you can go ahead and seal or paint the concrete to finish the fix. This is especially important if the rest of the floor was previously painted as you don't want to leave a "bald" spot.
How to Fix Cracks in Concrete
Concrete cracks will keep getting worse the longer you leave them along, especially in areas that are exposed to the elements or get a lot of rain. Follow the tips in this guide to learn how to fix cracks in concrete for good.
Need some tools to help you along the way?
We've got you covered. Make sure you take a look at some of our selection here at Onfloor Technologies! 
Connect with us
Recent Posts

WANT 10% OFF YOUR FIRST ORDER?

5 comments